The Ultimate Guide to Brewing Coffee at Home Like a Barista

Let’s face it—grabbing coffee at your favorite café every day adds up. But with the right technique, tools, and beans, you can brew better coffee at home than your local coffee shop. This guide walks you through everything you need to become your own barista.

Tools of the Trade: What You Really Need

You don’t need a $1,000 espresso machine to get started, but these essentials will take your brew from meh to magical.

✅ Coffee Gear Checklist:

  • Burr Grinder – For consistent grind size (crucial!)
  • Gooseneck Kettle – Ideal for pour-over control
  • Digital Scale – Precision makes perfect
  • Coffee Filters – Choose for your brew method
  • Thermometer – Optional but helpful

💡 Pro Tip: Always grind your beans fresh—right before brewing.

Brewing Methods Breakdown: Pick Your Favorite

Every method has its charm. Choose one that fits your flavor preference and time commitment.

1. Pour-Over (e.g. Hario V60, Chemex)

  • Taste: Clean, bright
  • Best For: Flavor purists
  • Grind: Medium-fine

2. French Press

  • Taste: Bold, full-bodied
  • Best For: Rich coffee lovers
  • Grind: Coarse

3. AeroPress

  • Taste: Smooth, strong
  • Best For: Quick, travel-friendly brewing
  • Grind: Fine to medium

4. Drip Coffee Maker

  • Taste: Mellow, consistent
  • Best For: Busy mornings
  • Grind: Medium

5. Cold Brew

  • Taste: Smooth, low-acid
  • Best For: Hot days or iced coffee fans
  • Grind: Coarse

Choosing the Right Coffee Beans

Your coffee is only as good as the beans you use.

✅ What to Look For:

  • Fresh Roast Date – Look for beans roasted within 2-3 weeks.
  • Origin – Ethiopian for fruity, Colombian for balanced, Sumatran for earthy.
  • Roast Level:
    • Light – More acidity, fruit/floral notes
    • Medium – Balanced, chocolatey
    • Dark – Bold, smoky

💡 Pro Tip: Buy whole beans from a local roaster and store them in an airtight container (not in the fridge!).

5 Common Brewing Mistakes (And How to Fix Them)

  1. Wrong grind size
    🔄 Fix: Match your grind to the method (coarse for French press, fine for espresso)
  2. Overheating the water
    🔄 Fix: Use water just off the boil (195°F–205°F)
  3. Bad coffee-to-water ratio
    🔄 Fix: Use a 1:16 ratio (e.g., 20g coffee to 320ml water)
  4. Stale beans
    🔄 Fix: Always check the roast date and grind fresh
  5. Dirty equipment
    🔄 Fix: Clean your gear weekly to avoid off-flavors

Brew Guide Cheat Sheet (Save This!)

MethodGrind SizeBrew TimeRatio (Coffee:Water)
Pour-OverMedium-fine3–4 mins1:16
French PressCoarse4 mins1:15
AeroPressFine2 mins1:13 to 1:17
Drip MachineMediumAuto1:16
Cold BrewCoarse12–24 hrs1:8 (concentrate)

Final Thoughts: Practice = Perfect

Your best cup of coffee is just a few tweaks away. Start small, choose the method that excites you, and enjoy the learning process. The journey to becoming a home barista is as rewarding as the brew itself.
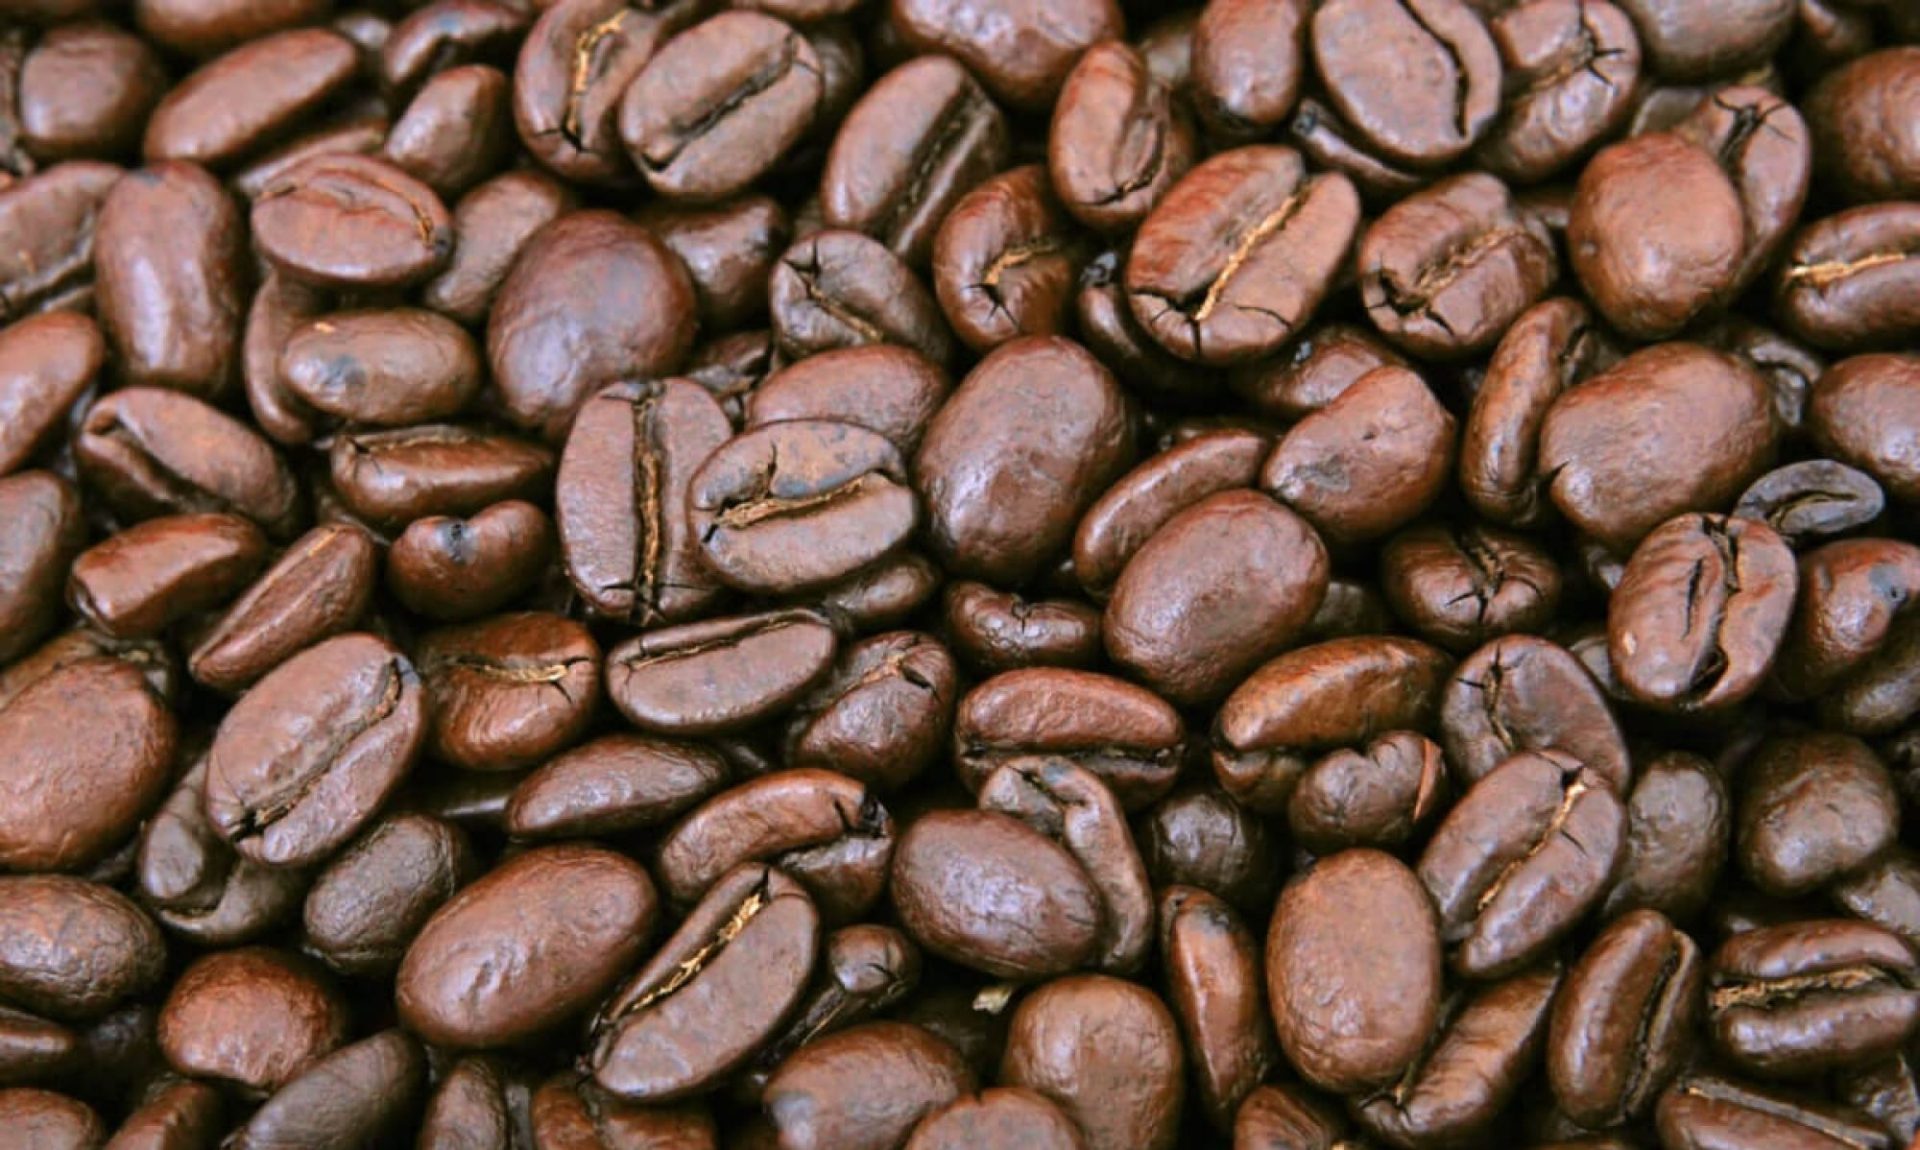
How Water Temperature Shapes Taste and Caffeine Levels

When it comes to brewing that perfect cup of coffee, we often focus on beans, grind size, or brewing methods, but one of the most crucial factors—the temperature of the water—is frequently overlooked. Temperature isn’t just about making coffee hot; it profoundly influences taste, aroma, and even the caffeine content of the final cup. In this post, we’ll dive into how water temperature impacts the experience of your morning brew and uncover the ideal range for different flavors and caffeine extraction.


1. The Science of Water Temperature in Coffee Brewing

Water temperature plays a fundamental role in extracting the soluble flavors, oils, and compounds in coffee grounds. Too hot or too cold, and the balance of extraction shifts, which can lead to an imbalanced cup.

  • High Temperature (>205°F / 96°C): Water above this range extracts flavors and compounds very quickly. While this may sound like a good thing, it often leads to over-extraction, causing bitterness, harsh flavors, and astringency.
  • Low Temperature (<195°F / 90°C): Cooler water, on the other hand, can result in under-extraction, leaving the coffee weak, acidic, or sour. Lower temperatures struggle to fully dissolve the flavorful compounds, so you might miss out on some depth.

2. Recommended Temperature Range: The Sweet Spot

The ideal water temperature for coffee brewing generally falls between 195°F and 205°F (90°C – 96°C). Within this range, water is hot enough to properly dissolve and extract desirable flavors, oils, and caffeine without burning the grounds or overwhelming their natural nuances.

The exact point within this range may vary slightly based on preference and coffee variety:

  • 195°F – 200°F (90°C – 93°C): Perfect for light and medium roasts, which have more delicate, floral, and fruity notes. Lower temperatures help maintain these subtleties.
  • 200°F – 205°F (93°C – 96°C): Works well with darker roasts that benefit from fuller extraction, as the higher temperature enhances their robust, deep flavors.

3. How Water Temperature Affects Coffee Taste

The temperature of your brewing water can dramatically influence the final taste profile of your coffee. Here’s how:

  • High Water Temperature: Hotter water tends to pull out more of the soluble compounds quickly, which can result in a stronger, more robust flavor but may also bring out bitter notes if over-extracted.
  • Lower Water Temperature: Cooler water extracts fewer of the compounds, which can lead to a smoother, sweeter taste with less bitterness. However, if the water is too cold, it may not fully extract all of the complex flavors, leading to a flat or sour taste.

Using the right temperature for each roast type allows for balance—preserving the brighter, acidic notes in lighter roasts or enhancing the caramelized, chocolatey flavors in darker ones.

4. Caffeine Content: Does Temperature Play a Role?

Yes, water temperature can influence the caffeine level in your cup, though the effect is subtle compared to taste. Hotter water generally extracts caffeine more efficiently, meaning that brewing closer to 205°F (96°C) can yield a slightly higher caffeine concentration.

However, other factors, such as brewing time, grind size, and coffee-to-water ratio, also significantly impact caffeine content. In practice, brewing with water between 195°F and 205°F will provide enough caffeine for most people without altering the taste balance.

5. Tips for Controlling Water Temperature

Achieving the right water temperature can feel like a balancing act, but here are some helpful techniques:

  • Use a Temperature-Controlled Kettle: For precise control, invest in a temperature-controlled kettle. Many models allow you to set an exact temperature, which is ideal for pour-over and drip coffee methods.
  • Check with a Thermometer: If you don’t have a controlled kettle, a digital thermometer can help you gauge water temperature before pouring it over the grounds.
  • Boiling and Cooling: Boil the water and let it sit for 30-45 seconds to naturally drop into the ideal range, usually around 205°F.

6. Final Thoughts: Experiment to Find Your Perfect Brew

Ultimately, the “perfect” water temperature is subjective and depends on your coffee preference. For a bolder, stronger flavor, you may lean towards the upper end of the range. If you prefer a smoother cup with lighter notes, aim closer to 195°F. Adjusting even a few degrees can reveal different flavor profiles within the same coffee beans.

In coffee brewing, precision often leads to perfection, so experimenting with temperature is a worthwhile pursuit. With a little practice and perhaps a thermometer, you can unlock new depths of flavor and enjoy a truly exceptional cup of coffee every time.

Mastering the art of AeroPress: a guide to brewing exceptional coffee


In the realm of coffee brewing methods, the AeroPress stands out as a versatile andpopular tool. Designed by Alan Adler, this compact and innovative device has gained a devoted following among coffee enthusiasts worldwide. Whether you’re a experienced barista or a coffee lover looking to improve your home brewing skills, the AeroPress offers a unique and rewarding coffee experience. In this blog post, we will dive into the art of using the AeroPress and unlock the secrets to brewing exceptional coffee with this remarkable brewer.

Understanding the AeroPress

The AeroPress is a manual coffee brewer consisting of two cylindrical chambers, a plunger, and a filter. It uses the principle of submerged brewing and pressure to extract flavors and oils from the coffee grounds. To get started, familiarize yourself with the main components of the AeroPress and its different brewing methods: the standard method and the inverted method.

The standard method

The standard method is a straightforward way to brew coffee with the AeroPress. Here’s a step-by-step guide to get you started:

  1. Boil water and allow it to cool slightly, ideally to about 200°F (93°C).
  2. Insert a paper filter into the AeroPress’s filter cap and rinse it with hot water to remove any paper taste.
  3. Assemble the AeroPress by placing it on a sturdy cup or a carafe.
  4. Pour freshly ground coffee into the AeroPress chamber. Aim for a medium to fine grind size, similar to table salt.
  5. Start a timer and pour the hot water over the coffee, making sure all the grounds are saturated. Stir gently for a few seconds to ensure even extraction.
  6. After 1-2 minutes, place the plunger on the AeroPress chamber and apply gentle pressure to begin the extraction. Aim for a slow and controlled press, taking about 20-30 seconds to complete.
  7. When you hear a hissing sound, indicating that all the liquid has been pushed through, stop pressing. You can stop just before reaching the hiss if you prefer a milder cup of coffee.
  8. Serve and enjoy your freshly brewed AeroPress coffee. It can be enjoyed straight or diluted with hot water to your desired strength.

The inverted method

The inverted method offers more control over the brewing process and allows for a longer infusion time. Here’s a simplified version of the inverted method:

  1. Assemble the AeroPress upside down, with the plunger fully inserted into the chamber.
  2. Add coffee and hot water to the inverted AeroPress, following the same guidelines as the standard method.
  3. Stir gently to ensure proper saturation and even extraction.
  4. After the desired infusion time (usually about 1-2 minutes), carefully flip the AeroPress onto your cup or carafe.
  5. Apply gentle pressure to the plunger to extract the coffee, aiming for a slow and controlled press.
  6. Serve and enjoy your expertly brewed AeroPress coffee.

Experiment and tefine your technique

The beauty of the AeroPress lies in its versatility and the ability to experiment with different factors. Play around with different coffee-to-water ratios, grind sizes, brew times, and even water temperatures to find your preferred flavor profile. Each adjustment will result in a unique flavor experience, allowing you to refine your technique and brew the perfect cup of coffee.

Conclusion

The AeroPress offers coffee lovers a delightful and accessible way to brew exceptional coffee. With its portability, ease of use, and remarkable versatility, it has become a staple in the arsenal of many coffee enthusiasts. By mastering the art of AeroPress brewing and experimenting with different variables, you can unlock a world of flavor and take your coffee brewing game to new heights. So, grab your AeroPress, embark on this exciting journey, and enjoy the rewarding process of brewing a sensational cup of coffee with this remarkable machine.