Mastering the art of AeroPress: a guide to brewing exceptional coffee


In the realm of coffee brewing methods, the AeroPress stands out as a versatile andpopular tool. Designed by Alan Adler, this compact and innovative device has gained a devoted following among coffee enthusiasts worldwide. Whether you’re a experienced barista or a coffee lover looking to improve your home brewing skills, the AeroPress offers a unique and rewarding coffee experience. In this blog post, we will dive into the art of using the AeroPress and unlock the secrets to brewing exceptional coffee with this remarkable brewer.

Understanding the AeroPress

The AeroPress is a manual coffee brewer consisting of two cylindrical chambers, a plunger, and a filter. It uses the principle of submerged brewing and pressure to extract flavors and oils from the coffee grounds. To get started, familiarize yourself with the main components of the AeroPress and its different brewing methods: the standard method and the inverted method.

The standard method

The standard method is a straightforward way to brew coffee with the AeroPress. Here’s a step-by-step guide to get you started:

  1. Boil water and allow it to cool slightly, ideally to about 200°F (93°C).
  2. Insert a paper filter into the AeroPress’s filter cap and rinse it with hot water to remove any paper taste.
  3. Assemble the AeroPress by placing it on a sturdy cup or a carafe.
  4. Pour freshly ground coffee into the AeroPress chamber. Aim for a medium to fine grind size, similar to table salt.
  5. Start a timer and pour the hot water over the coffee, making sure all the grounds are saturated. Stir gently for a few seconds to ensure even extraction.
  6. After 1-2 minutes, place the plunger on the AeroPress chamber and apply gentle pressure to begin the extraction. Aim for a slow and controlled press, taking about 20-30 seconds to complete.
  7. When you hear a hissing sound, indicating that all the liquid has been pushed through, stop pressing. You can stop just before reaching the hiss if you prefer a milder cup of coffee.
  8. Serve and enjoy your freshly brewed AeroPress coffee. It can be enjoyed straight or diluted with hot water to your desired strength.

The inverted method

The inverted method offers more control over the brewing process and allows for a longer infusion time. Here’s a simplified version of the inverted method:

  1. Assemble the AeroPress upside down, with the plunger fully inserted into the chamber.
  2. Add coffee and hot water to the inverted AeroPress, following the same guidelines as the standard method.
  3. Stir gently to ensure proper saturation and even extraction.
  4. After the desired infusion time (usually about 1-2 minutes), carefully flip the AeroPress onto your cup or carafe.
  5. Apply gentle pressure to the plunger to extract the coffee, aiming for a slow and controlled press.
  6. Serve and enjoy your expertly brewed AeroPress coffee.

Experiment and tefine your technique

The beauty of the AeroPress lies in its versatility and the ability to experiment with different factors. Play around with different coffee-to-water ratios, grind sizes, brew times, and even water temperatures to find your preferred flavor profile. Each adjustment will result in a unique flavor experience, allowing you to refine your technique and brew the perfect cup of coffee.

Conclusion

The AeroPress offers coffee lovers a delightful and accessible way to brew exceptional coffee. With its portability, ease of use, and remarkable versatility, it has become a staple in the arsenal of many coffee enthusiasts. By mastering the art of AeroPress brewing and experimenting with different variables, you can unlock a world of flavor and take your coffee brewing game to new heights. So, grab your AeroPress, embark on this exciting journey, and enjoy the rewarding process of brewing a sensational cup of coffee with this remarkable machine.
How much caffeine is in a cup of coffee?

For many people, a cup of coffee is an essential part of their daily routine. It helps them wake up, stay alert, and get through the day. One of the main reasons for coffee’s popularity is its caffeine content. Caffeine is a natural stimulant that can improve concentration and boost energy levels. But have you ever wondered just how much caffeine is in that cup of coffee you’re sipping? In this article, we will explore the fascinating world of caffeine and break down the factors that influence its concentration in your favorite brew.

Understanding caffeine

Caffeine is a naturally occurring compound found in a variety plants, including coffee beans, tea leaves, and cocoa pods. It belongs to a class of chemicals known as xanthines and acts as a central nervous system stimulant. When consumed, caffeine can increase alertness, improve mood, and temporarily prevent drowsiness.

Caffeine content in coffee

The amount of caffeine in a cup of coffee can vary significantly depending on several factors, including the type of coffee bean, the brewing method, the serving size, and even the brand. On average, an 8-ounce (237 ml) cup of brewed coffee contains about 95 milligrams (mg) of caffeine. However, this is a rough estimate, and the actual amount can range from as low as 30 mg to as much as 200 mg or more.

Factors that affect caffeine levels

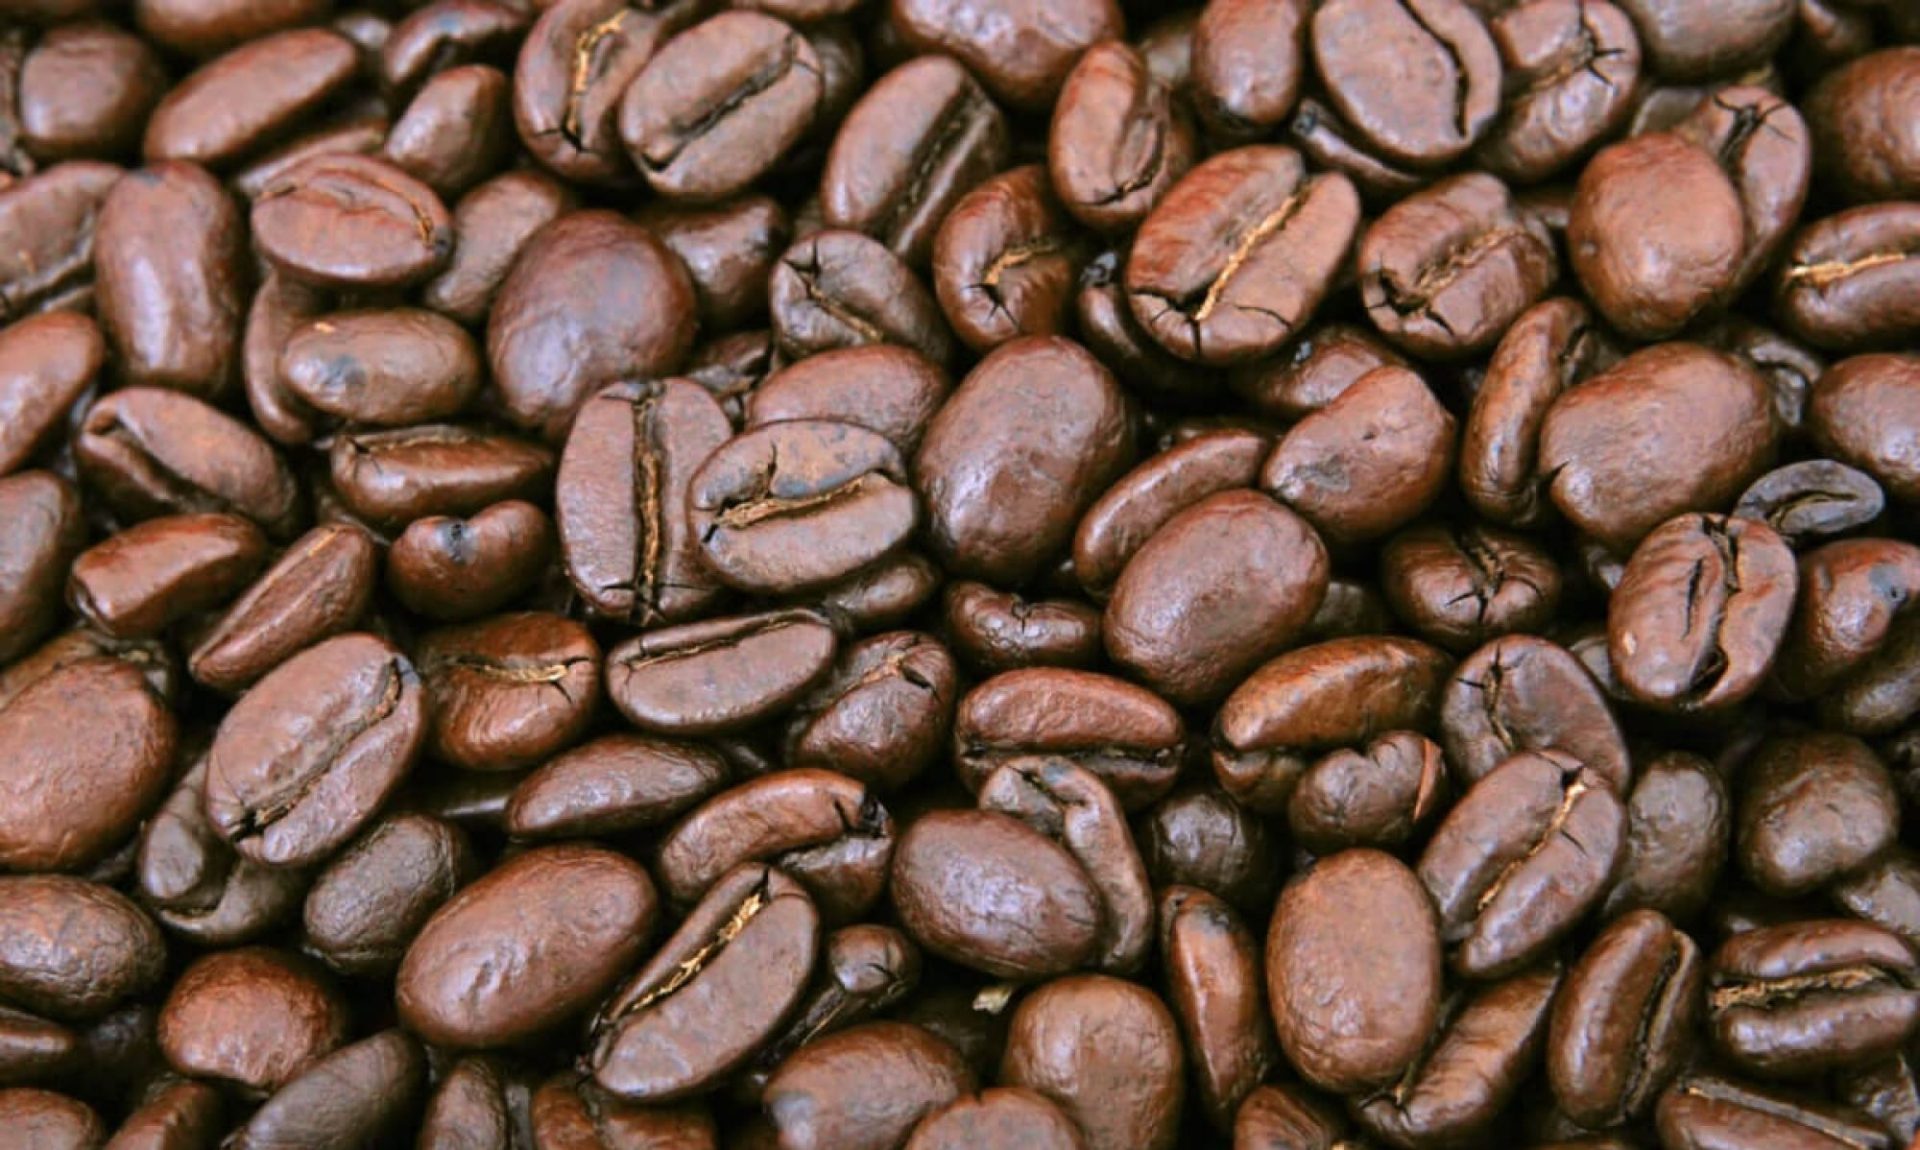
  1. Type of coffee bean: Different types of coffee bean have different concentrations of caffeine. Robusta beans, which are commonly used in instant coffee and espresso blends, tend to have higher caffeine levels than Arabica beans, which are used in most specialty and gourmet coffees.
  2. Roasting process: The degree of roasting also affects caffeine content. Contrary to popular belief, darker roasts do not necessarily contain more caffeine than lighter roasts. The roasting process itself reduces the caffeine content, so lighter roasts may have slightly higher caffeine levels.
  3. Brewing method: The brewing method plays a crucial role in determining the amount of caffeine in your cup. Espresso, for example, typically has a higher concentration of caffeine due to the shorter brewing time and the use of finely ground coffee. On the other hand, brewing methods such as drip coffee or French press tend to extract caffeine more slowly and may produce a milder brew.
  4. Cup size: The size of your cup is also important. Larger cups will dilute the caffeine content, resulting in a lower concentration per fluid ounce. If you’re looking for a stronger caffeine kick, opting for a smaller serving size may be a better choice.
  5. Brand variations: Different brands of coffee can have different caffeine concentrations even within the same brewing method and serving size. It’s always a good idea to check the packaging or consult the brand’s website for specific caffeine information.

Caffeine in decaffeinated coffee

If you’re trying to avoid caffeine altogether, decaffeinated coffee may be your best bet. However, it’s important to note that decaffeinated coffee is not completely caffeine-free. The decaffeination process removes most of the caffeine, but trace amounts can still remain. On average, an 8-ounce cup of decaf coffee contains about 2-5 mg of caffeine. Although this amount is significantly lower than regular coffee, it’s not negligible for people who are highly sensitive to caffeine.

Conclusion

The amount of caffeine content in a cup of coffee can vary widely depending on several factors, including the type of coffee bean, the roasting process, the brewing method, the serving size, and the brand. While an 8-ounce cup of brewed coffee typically contains about 95 mg of caffeine, it’s important to remember that this is just an average and individual cups may have different levels. Ultimately, understanding the factors that influence caffeine content can help you make more informed choices about your coffee consumption, whether you’re looking for a robust energy boost or a milder, decaffeinated option.

So, the next time you grab a cup of coffee, take a moment to appreciate the complex nature of caffeine and its varied presence in your favorite brews.